This is the easiest, glowiest, and most simple everyday makeup you might ever see. I've been away from this blog for a little longer than a month, because I suck, and I didn't account or prepare posts while I was doing my exams. I had 0 motivation as all I could think about was different theories and policies for my 3/4 Business Management exam. However, both year 11 + 12 exams have now finished and I have roughly 2 and a half months to put all my effort into my holidays ( and to this blog ).
I lived in this makeup for about a month (dw, I washed it off every night), and I thought that this was the perfect post to help explain my M.I.A tendencies....
first off :
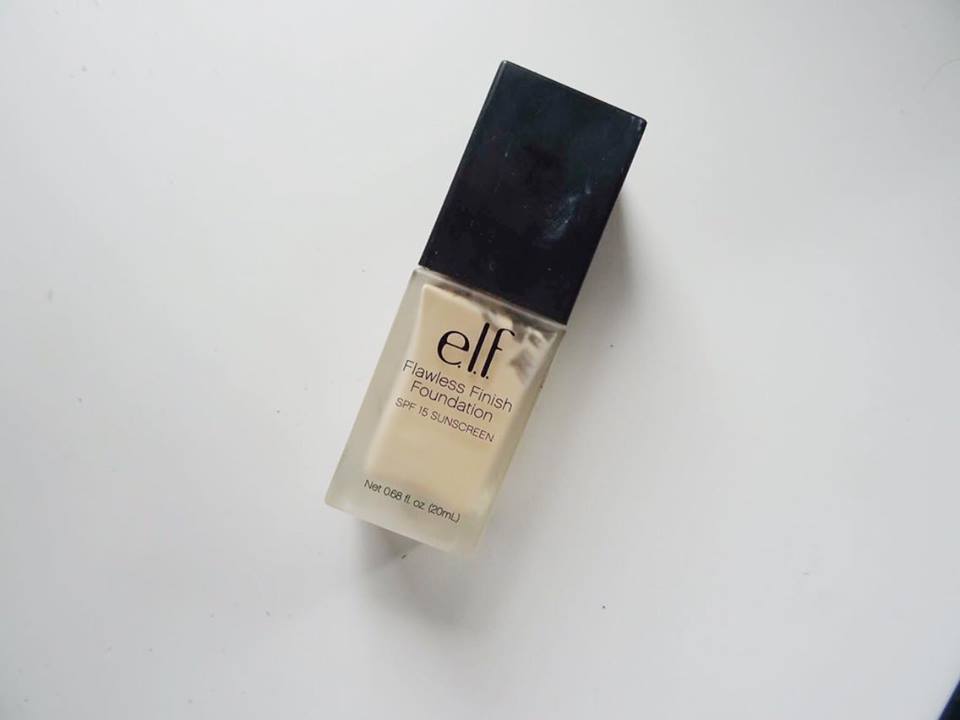
BASE!
I tossed up between a BB cream or concealer by itself depending on both the amount of sleep I got, and the amount of blemishes that had popped up overnight. Now, Im not saying that you need to cover everything all the time, around this time of year (in Australia), everyone is ONLY REALLY caring about themselves and their study, so don't worry about a silly pimple coming through.
I digress..., The
Bourjois 123 Perfect CC cream is incredible coverage for a CC cream, it's closer to a lighter weight foundation which is great for a slightly not-so-great skin day. The colour section is not too bad, the lightest shade (31 IVORY) suits a neutral NC15-20, so it can pull a bit pink on my slightly-yellow, VERY pale skin.
The other alternative, which is pictured, is a heavier coverage concealer + corrector DUO. I personally use a mixture of the
Kryolan Concealer Wheel and either
Mac ProLong Wear or
Maybelline Fit Me concealer.
Under the eyes:
1. Warm the two peachier colours from the wheel (PH + OH) onto your hand/finger
2. Apply to the under eye using your ring-finger in dabbing motion (remembering to get right into the inner corner where it tends to be darkest.
3. blend out edges + add the concealer on top
4. repeat patting motions until all blended and covered
5. Set with either a transparent powder or yellow toned power (quickly)
Blemishes:
repeat the above steps, but using a more neutral to green concealer, depending on how red the blemish is (I personally use RN1 in the wheel). Add your normal concealer over and top off with a
translucent powder, just in case the yellow is too harsh and makes the blemish become more obvious.
CHEEKS
A little bit of blush + highlight can totally alter your look, so you look put together and
alive, even if you're not feeling it on the inside. I usually use a pinky-rose colour, such as the
Maybelline Master HI-light in 20 PINK ROSE or rosiest colour from the
BH Cheek palette.
As for highlight, if I have only used concealer and no foundation, I'll go in with an
Hourglass Ambient Lighting Powder in either DIM light or INCANDESCENT LIGHT. This gives a very natural glow, and doesn't look especially sparkly on the skin. If I have gone in with the CC cream, I'll reach for either a VERY small amount of
The Balm's MaryLouManizer, or a small amount of
Makeup Geek' Shimma Shimma.
EYES
Probably the most basic thing you'll ever witness. I will smear on the
Maybelline Colour Tattoo in Barely Branded and top with a similar shadow (
I used Too Faced Champagne Truffle) and
maybe place a matte shade in the crease ( the Rosy BH cosmetics blush would be PERFECT here). Curled lashes, 2 coats of
Loreal's Miss Manga Mascara, a bright inner corner highlight (I used Mary Lou) and a small amount of Rimmel's Nude eyeliner and you look awake, living and almost ready to take on the world (or revise for 12 hours). In addition, I added a small amount of
Inglot's 506 eyebrow pencil into my brows, and set it with
Rimmel's Brow This Way gel in Blonde - quick, but nothing revolutionary.
LIPS
I would applaud anyone who can find the time to apply a liquid lipstick , or even a normal lipstick when you're stressed or rushing (or barely awake), but this alternative is great, glossy and unfortunately pricey.
The YSL Tint-In-Oil in #6 is my first YSL product and I LOVE it to bits. It takes 0.3 seconds to apply and sinks into the lips super easily. It provides an
almost bright, put-together lip while moisturising your lips. The lasting power of the colour is not fantastic but you can still feel it moisturising your lips hours after applying. It's perfect for an everyday look, and there's no awkward smearing or patchy fading.
WE ARE DONE.
although this seems like an extravagantly long blogpost, this makeup would take well under 20 minutes to do, maybe even 10 without distractions...
Anyways, Thank you for reading, hope you have a great day and sorry for being M.I.A, hopefully I can be more persistent, even if it's just for me
- Chelchea :)))))