Tuesday, 29 September 2015

Makeup Geek Insomnia Pigment Makeup Look


To celebrate the new release Makeup Geek duo chrome pigments and eyeshadow pans, i thought i would share a look I've done with the original due chrome pigment "Insomnia". This pigment has floated around throughout the beauty community for a long time, but still manages to create effortlessly glamourous eye looks. I paired the blue-green // red brown duo chrome with a warm, red toned crease and a nude lip: standard.


I did my eyes before my base in this look because of the rich pigment, i didnt want blue fallout across my cheeks.
The eyes were done as follows:

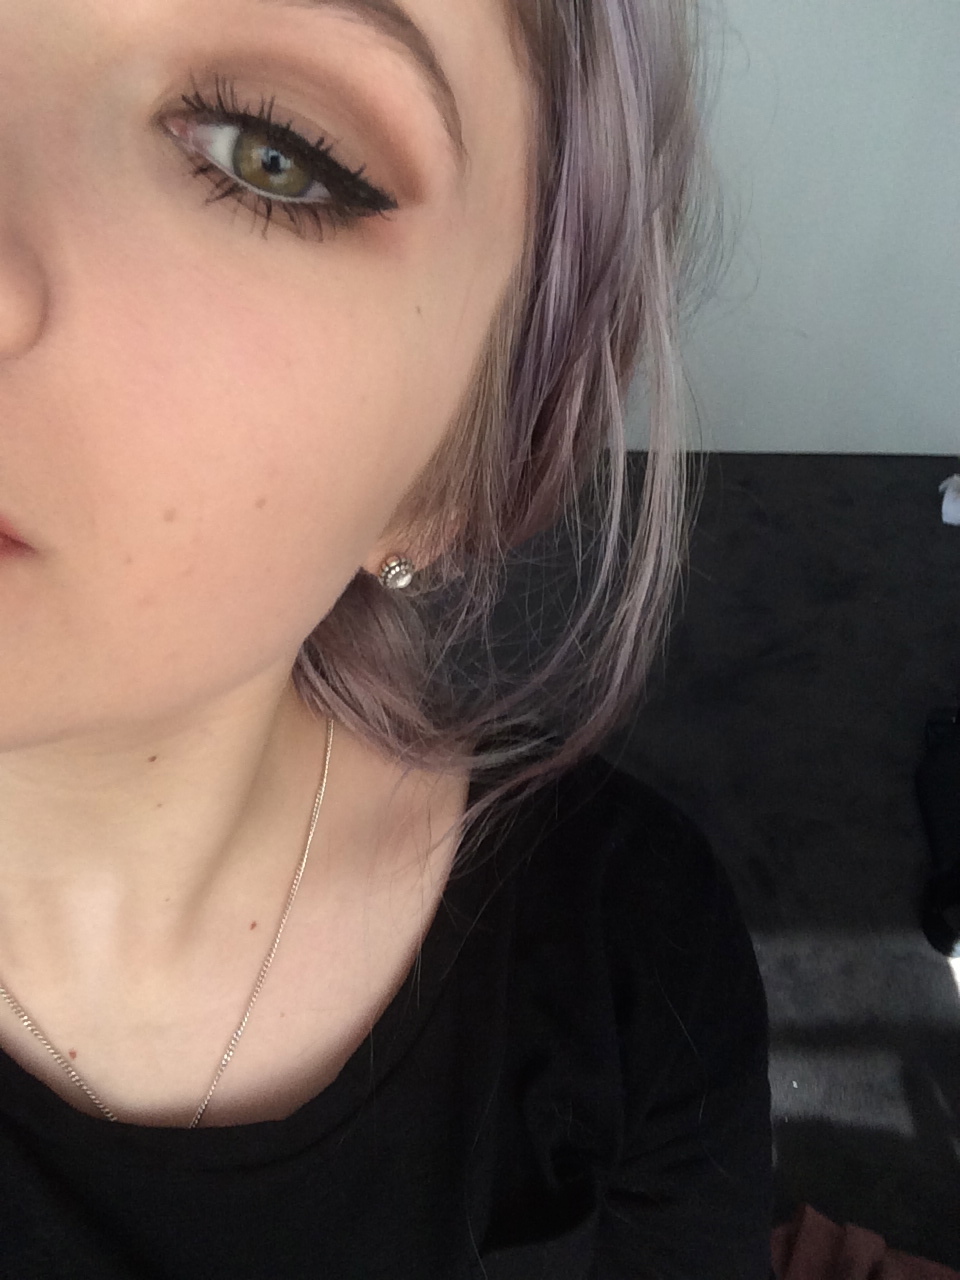
1. MUG creme brûlée in the crease and across the lid
2. MUG insomnia pigment on entire lid, focusing on the outer half (I wet my brush for the very centre of the lid to bring out more of the teal reflect.
3. MUG bitten all throughout the outer corner and the crease to bring out the warmer side of the pigment
4. MUG creme brûlée and bitten under the lower lash line, not exaggerating or going down too far
4. Finished with mascara! (Loreal Miss Manga)


For the base, I again did my full coverage foundation routine (which will become a post eventually), with the addition of my newest highlighter Mary LouManizer by TheBalm which is so so dreamy and luminous. I added the peach colour from my BH cosmetics blush palette, which came up quite orangey on my skin, just an FYI for fellow pale people.

For lips, I didnt feel the need to line them , seeing as all the emphasis was going toward the eyes and highlighter. I added Rimmel's Apocolips Lip (gloss? melted lipstick?) in Nude Eclipse. And that was it! the final look, so so super easy, but very effective (and not TOO crazy for daytime)


Thankyou for viewing this post :)) I hope it was helpful in some way
-Chelchea

Tuesday, 22 September 2015

Korean Makeup and Skincare Review!


There is no doubt that korean makeup and skincare has skyrocketed, not only by the various beauty bloggers discovering them but by the sheer quality of them! So far, I've only ordered off of w2beauty.com and bought in store at Daiso but even with my limited collection it is clear that this tier of makeup and skincare is slowly becoming some of my favourites.


In terms of skincare, the only items I've thoroughly tested have been the Blackhead Out- White Clay Nose Pack and the Panda's Dream So Cool Eye Stick. The White Clay works as a mask that you put over any areas where blackheads appear (for me: nose, chin and occasionally forehead), you then wait until the paste dries, and then peal off, much like a pore strip. I find that it actually removes blackheads, and for me, the tight feeling afterward isn't nearly as uncomfortable as normal pore strips. 9/10 for sure
In all honesty, I originally bought the Eye Stick for the cute packaging (which is a reoccuring theme in most korean skincare and makeup). The Eye Stick is meant to be used as an alternative to eye cream, however, I dont find it nourishing enough as an overnight cream. Instead, I use it before makeup (at the same time as I put on primer) and it works as a perfect base underneath my MAC prolong wear concealer, which is well-known for its high coverage but also, a very drying factor. Overall I'm entirely happy with both products.

In terms of service, w2beauty.com was exceptional! It didn't take too long to arrive in australia, and came with a LOAD of free samples (some pictured above), definitely check it out if you're looking into buying korean makeup and skincare online- and on a side note, the lolly they included (shown in top image) was incredibly delicious.


Im constantly darting in and out of Daiso, whether it be for makeup wipes, bobby pins, eyelashes or even cute cat figurines (I can't help myself), Daiso offers a good range in most things. Their $2.80 price point (FOR EVERYTHING), is great! especially for trying out products you aren't sure on.
Originally I went into Daiso looking for some makeup wipes for makeup course's kit and a lipstick because again, I can't help myself. Because there are no testers, I wasnt expecting much from the lipsticks I picked up, however, I was completely blown away with the opacity and full pigmentation in both lipsticks! Peachy-orange lipsticks are my absolute favourite to wear, and this lipstick is fast becoming one of my favourites, the other is a bright red (that will be featured in a makeup look soon), with small, almost undetectable glitters (which thankfully does not grate against your lips throughout the day).  Both lipstick are very moisturinging and have a sheen to them, more so in the red, which means their wear time isn't mind-blowing, but still exceptional for a $3 lipstick. Next time I go into Daiso, I might have to pick up a few more colours in each of the collections. Neither of the lipsticks have any indication of brands/colours in English but they're easy to find in-store!


Thank you so much for reading, I hope this review was helpful! Don't forget to follow me on instagram (chelseadawidowski) to see when I next post :)
- Chelchea

Saturday, 22 August 2015

60s Inspired - Soft Neutral / Warm Cut Crease


So after watching, and loving, The Man from U.N.C.L.E i was completely inspired by the sixties and their incredible makeup. However, on my hooded and green/hazel eyes, I decided to change up the usual grey or navy cut crease, to a slightly warmer, neutral one.


EYES:
I started with a bare face, as I tend to muck up my liner at some point. I added an eye base and transparent powder.
I put Makeup Geek's (MUG) Creme Brûlée lightly through the crease
Then added a very light amount of MUG Mocha (and continued to do that for a
To further define and cut the crease I used ELF's cream eyeliner in Expresso, and cleaned it up with a small amount of Rimmel's Wake Me Up concealer in Ivory and a random bone coloured shadow to set it
I added a smaller wing across the lash line using Inglot's gel eyeliner in #77 but didn't connect the cut crease with this line as I find it makes my eyes look more hooded and small.
I used a large amount of MUG Mocha to blend out the lower lash line and added a white eyeliner (NYX jumbo eye pencil in Milk) to add a typical 60's feel
Finally I added some lashes, from Daiso in a black and brown blend to give some drama

FACE: I did my usual full coverage foundation routine (minus the highlight) to give a matte base typically used in the 60's. I will post my full coverage foundation (and base) routine in the next couple of weeks)

LIPS: I strayed away from the typical baby pink lips that are usually seen in the 60's, instead, i used a neutral (and slightly dark) lip combination which included
Revlon ColourStay Lip Liner in Rose to outline and slightly overdraw
And Mac Matte Lipstick in Velvet Teddy to fill the entire lips


Thank you for reading and viewing this makeup look :))))))
- Chelchea
(pls forgive the awful posing and picture taking- wasn't my day today)

Friday, 21 August 2015

HELLO !

SO,
I tried blogging once before, and failed miserably, so this a fresh start and a new blog. This blog will (hopefully) be filled with beauty reviews, mini pictorial tutorials and a few lifestyle bits and pieces. Basically, this will be a creative outlet, and something to keep me busy.


-Chelchea :)))))